Vacuum-sealed meals are no less than a blessing on a camping trip. From marinated meats to vegetable medleys, sealing your food in airtight packaging preserves the freshness and flavours of your food on a camping trip.
In this article, we will explain everything about vacuum-sealed meals, step-by-step procedures, and recommended food for outdoor camping in detail so your next outdoor trip will be fun.
Meals that have been cooked and then sealed in an airtight container using a vacuum sealer are called vacuum-sealed meals.
A vacuum-sealed meal is an excellent choice for camping because it is convenient, safe, portable, and reduces cooking time. This particular process helps to keep the food fresh for an extended period.
Fresh vegetables, meat, rice, snacks, pasta, and other suitable food can be sealed using this method.
Step-by-Step Guide on How to Prepare Vacuum-Sealed Meals for Camping
To prepare vacuum-sealed meals at home, you need some essential items like a vacuum sealer, vacuum bags or rolls, food ingredients, a freezer or refrigerator, and a marker to label each bag. Once you have all of these, just follow these simple steps.
- Plan your meals
- Choose the right ingredients
- Prepare the meals
- Seal the meal in an airtight container
- Label the bags
- Store the meal in the freezer/ refrigerator
- Reheat the meal at the campsite
*In case, you do not have a vacuum sealer or vacuum bags, still you can pack the food in zip lock bags by removing the air using high water pressure. You can watch the following video for a visual demonstration here.
1. Plan Your Meals
Choosing and packing the right food can make your trip memorable. Instead of putting together a bunch of foods, it is better to prepare a list of items you need with you.
Think about your storage limit, weather conditions, duration of the trip, food ingredients, and shelf life of vacuum-sealed meals.
It is important to mention that some food items have anaerobic bacterium that does not require oxygen for growth and it can spoil your food.
Therefore, a careful selection of food items is very important. A detailed list of food items that cannot be vacuum sealed is shown here.
2. Choose the Right Ingredients
Try to choose ingredients that can be easily packed with a vacuum sealer. Some favorite options are pasta, rice, dehydrated meats, stews, casseroles, and frozen vegetables. Weather is very important to consider while choosing food.
In warm weather, it is recommended to bring some extra non-perishable food along with other regular perishable items to ensure a variety of options.
What I do is always take just-add water meals along with me on camping trips. Just put your food inside a kettle or large pan and add a little bit of boiling water to them and they are ready to eat.
However, if you are going to mountains where the temperature of your surrounding is expected to be near zero, then you can bring as much perishable food as you want.
How Long Do Vacuum-Sealed Meals Last?
The normal shelf life of vacuum-sealed meals depends on several factors including the type of food, vacuum-sealing techniques, storage conditions, etc.
However, the following table can help you to understand how long vacuum-sealed food last at different temperatures.
| Food Items That Can Be Vacuum-Sealed | Length of Time | ||
| Freezer | Refrigerator | Room Temperature | |
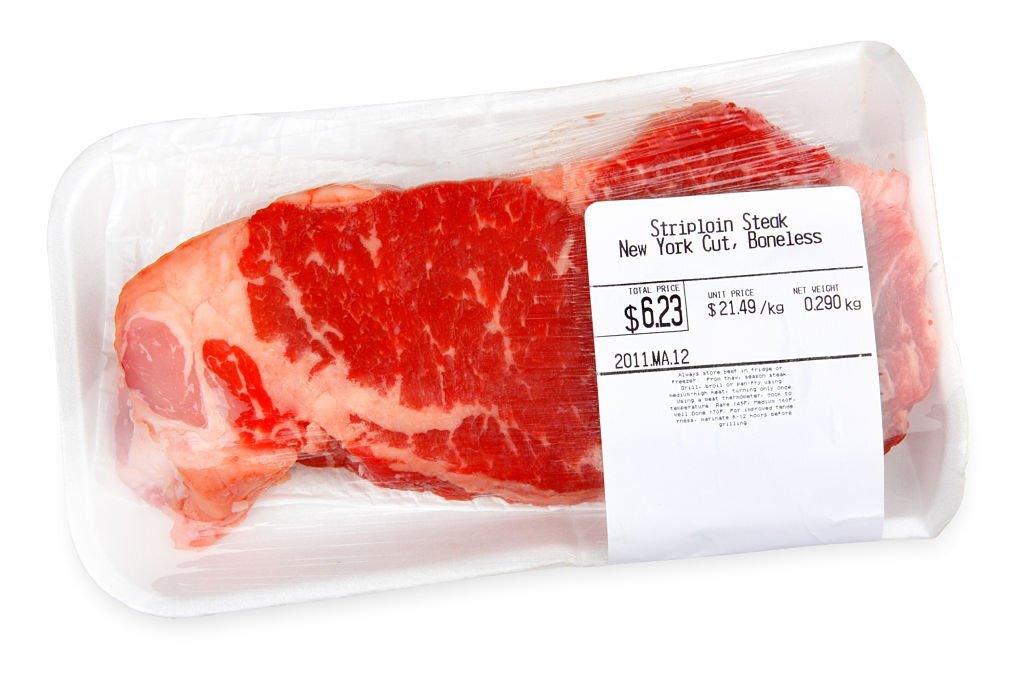
| Large cuts of meat: beef, poultry, lamb, pork | 2 – 3 years | 3 – 5 years | Not recommended |
| Ground meat: beef, poultry, lamb, pork | 1 year | 1 – 2 days | Not recommended |
| Deli meats | 1 – 2 months | 7 – 10 days | Not recommended |
| Lean fish: bass, cod, haddock, halibut | 2 years | 1 – 2 days | Not recommended |
| Fatty fish: salmon, whitefish, mackerel | 1 year | 1 – 2 days | Not recommended |
| Uncooked shrimp | 4 – 6 months | 1 – 2 days | Not recommended |
| Cooked shrimp | 10 – 12 months | 3 – 4 days | Not recommended |
| Uncooked lobster | 6 – 8 months | 1 – 2 days | Not recommended |
| Cooked lobster | 2 – 3 months | 3 – 4 days | Not recommended |
| Uncut vegetables | 2 – 3 years | 1 – 2 weeks | 4 – 5 days |
| Soups, stews, and sauces | 1 – 2 years | 3 – 4 days | Not recommended |
| Bread | 1 – 3 years | 7 – 14 days | 4 – 6 days |
| Hard cheese: Parmesan, Romano, cheddar, etc. | 8 months | 2 – 4 months | Not recommended |
| Semi-hard to semi-soft cheese: Gruyere, Gouda, etc. | 2 months | 2 – 3 weeks | Not recommended |
| Soft cheese: Brie, mozzarella feta, Gorgonzola, etc. | Not recommended | 1 – 2 weeks | Not recommended |
| Nuts: almonds, cashews, etc. | 2 years | 1 year | 6 – 9 months |
| Flour | Not recommended | Not recommended | 1 – 2 years |
3. Prepare the Meals
Now it is time to prepare the meals. You can prepare the meal on the same day you intend to leave or a day before you leave. However, the cooked meals should cool at room temperature before to pack into sealed bags.
You can cook vegetables, rice, pasta, or anything you like to eat. It is better to prepare the meals in large portions as it will help you to prepare a camping meal plan and you only bring the ingredients you need.
Now the question is, should we take fully-cooked meals or half-cooked meals for camping? It depends on various factors like personal preferences, trip duration, weather conditions, available cooking equipment, etc.
Some people like to cook at camping sites so they prefer half-cooked meals e.g. pre-cooked pasta, rice, meatballs, etc.
If you do not have that much time or have limited equipment you can take fully cooked meals like grilled meats, roasted vegetables, pasta rice, etc.
And simply reheat them at the camping site. However, most people prefer a combination of both for convenience.
4. Seal the Meal in An Airtight Container
Before sealing the meals in an airtight container, let it cool down to room temperature. Hot meals can form condensation inside the container which can damage the food quality.
Before packing the meals in an airtight container, make sure that they are clean and suitable in size to minimize the space and potential spoilage.
Now, fill the bags with meals using a spoon or spatula leaving some space on the top. To prevent wastage or leftovers, try to put as much food in one bag as you can eat at one time.
Once all bags are ready, you can pack them by placing the ends of the airtight container inside the vacuum sealer and following the simple instructions of the machine.
There are different types of vacuum sealers available in the market. It is better to read the operating instructions carefully before using the machine.
Once you will turn on the vacuum sealer, it will remove all air from the bag before fusing the edges of the bag with a heated seal bar. It is recommended to seal the bag twice to prevent potential spoilage.
In case, you do not have a vacuum sealer, you can manually seal your food at home without using a vacuum sealer.
All you need is a zip-lock bag and a bowl of water. However, this method is not very effective as compared to vacuum sealer machines but still, it helps to extend the freshness of meals to some extent.
The following video will help you to understand the procedure.
5. Label the Bags
It is very important to label your camping food bags for easy identification so you know what’s inside each bag.
It is a common saying that “It always rains on tents”, so it is recommended to use waterproof labels on each bag so all labels can be read easily throughout the journey.
Use a permanent marker to write the ingredients and date on the front of the bag to ensure that you eat the meals within a reasonable time.
Some travelers use a color scheme for quick identification. For example, you can use blue labels for breakfast, green for lunch, and red for dinner to easily differentiate the meals based on their categories without any guesswork.
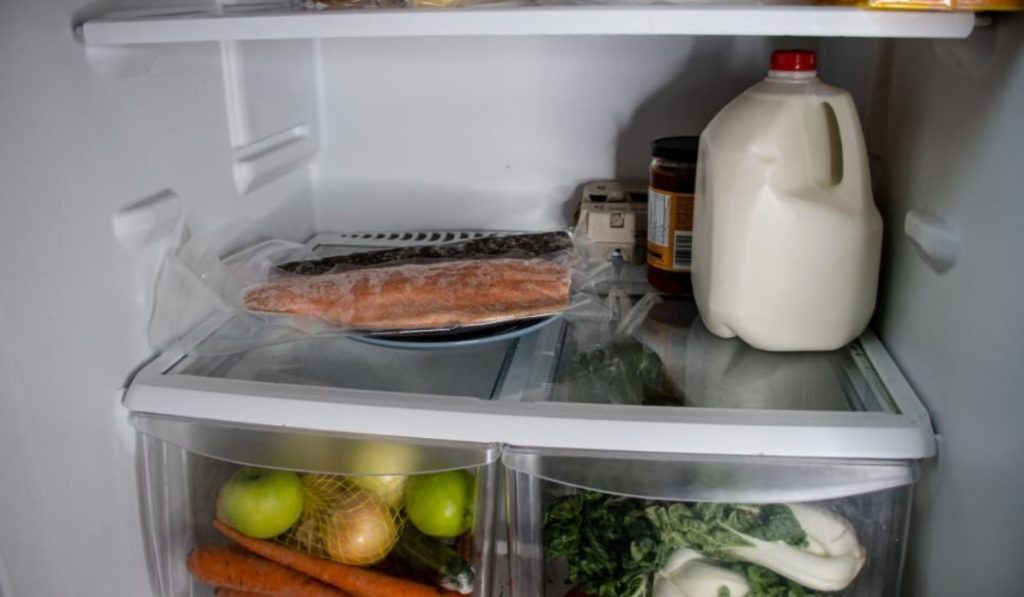
6. Store the Meal in the Freezer/Refrigerator
Now it is time to put all packets in the freezer/refrigerator immediately to ensure food safety. If you are using a freezer, make sure that the thermostat is set to the required temperature for freezing food (usually 0°F or below).
It is recommended to arrange the bags in a single layer for faster and even freezing. In the case of a refrigerator, the temperature should be between 32°F and 40°F.
One of the popular food storing methods is FIFO (first in first out). In this method, you can place the most recently prepared meals behind the older ones to reduce spoilage.
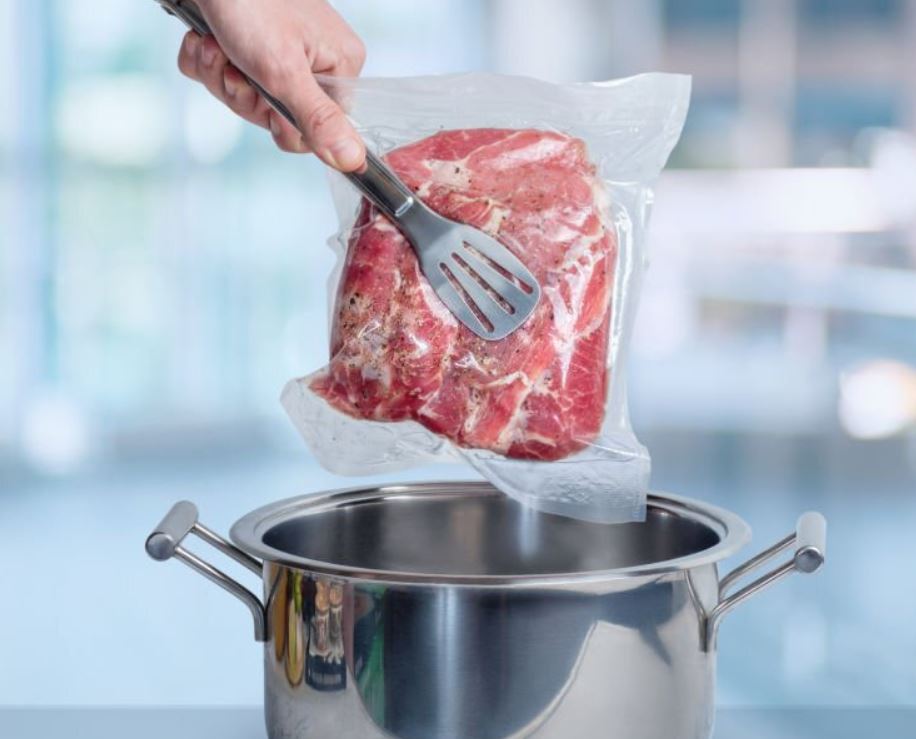
7. Reheat the Meal at the Campsite
When you are at a camping site and want to eat something, you only need to open the sealed bags and reheat the meals using a kettle or pan on the stove.
Propane and butane fuels are popular choices for outdoor camping as they are easily available. You can read a detailed article on Propane VS Butane for camping stoves, which one is better here.
By following the above simple steps you can prepare delicious vacuum-sealed meals for your next outdoor trip.
It is important to take the meals in insulated coolers or any other appropriate cooler to preserve the freshness of the meals during transportation.
Note: Do not forget to read the camping regulations and guidelines regarding cooking outdoors, open fire, waste disposal, cooking restrictions, etc.
List of Meals That Can Be Vacuum-Sealed
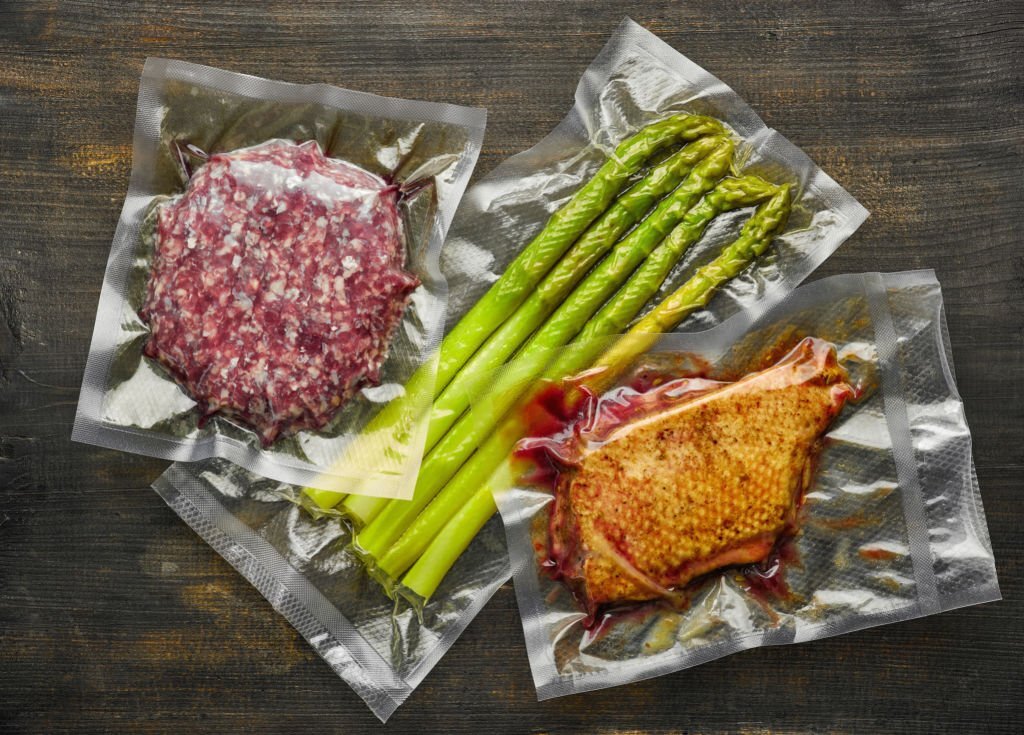
Many food items can be vacuum sealed to extend their shelf-life. Here is the list of common food items that can be vacuum-sealed.
- Baked goods (muffins, bread, cookies, etc.)
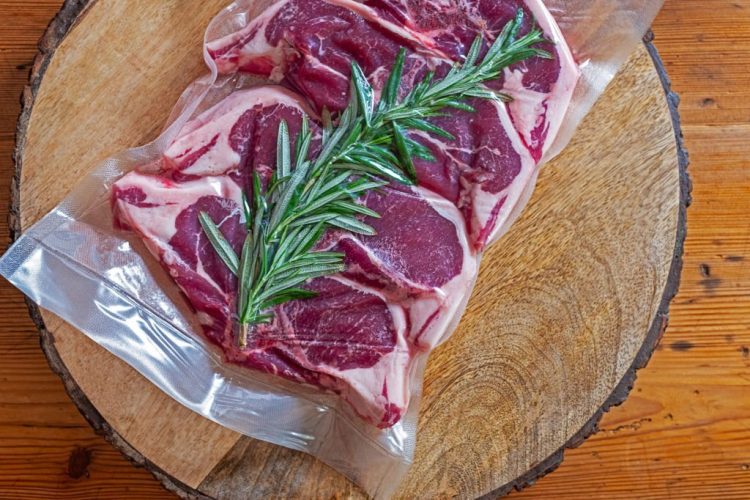
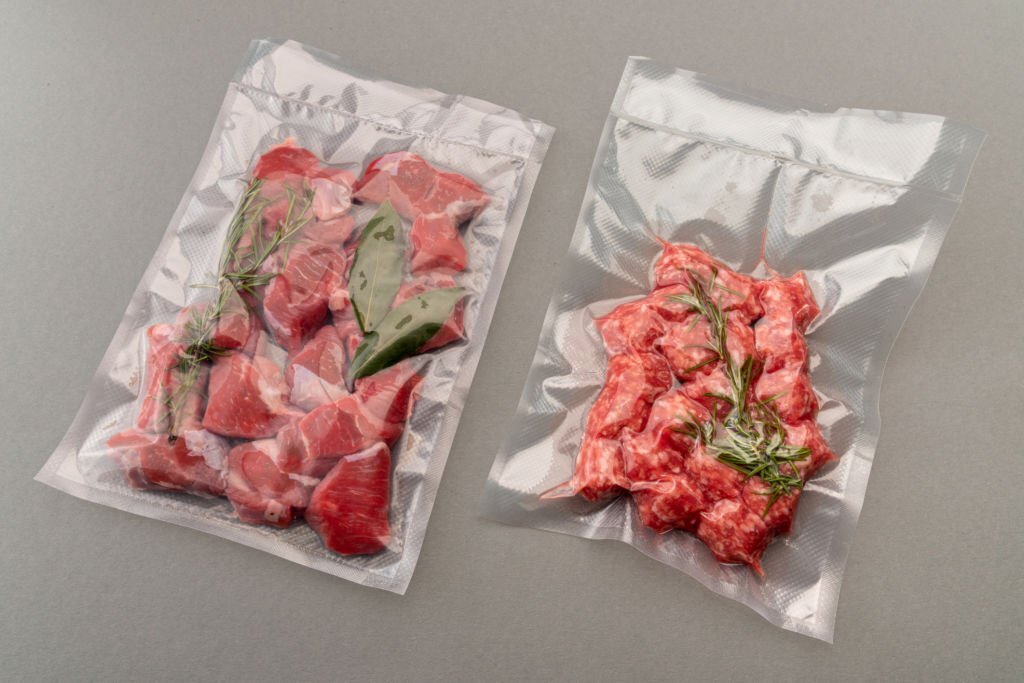
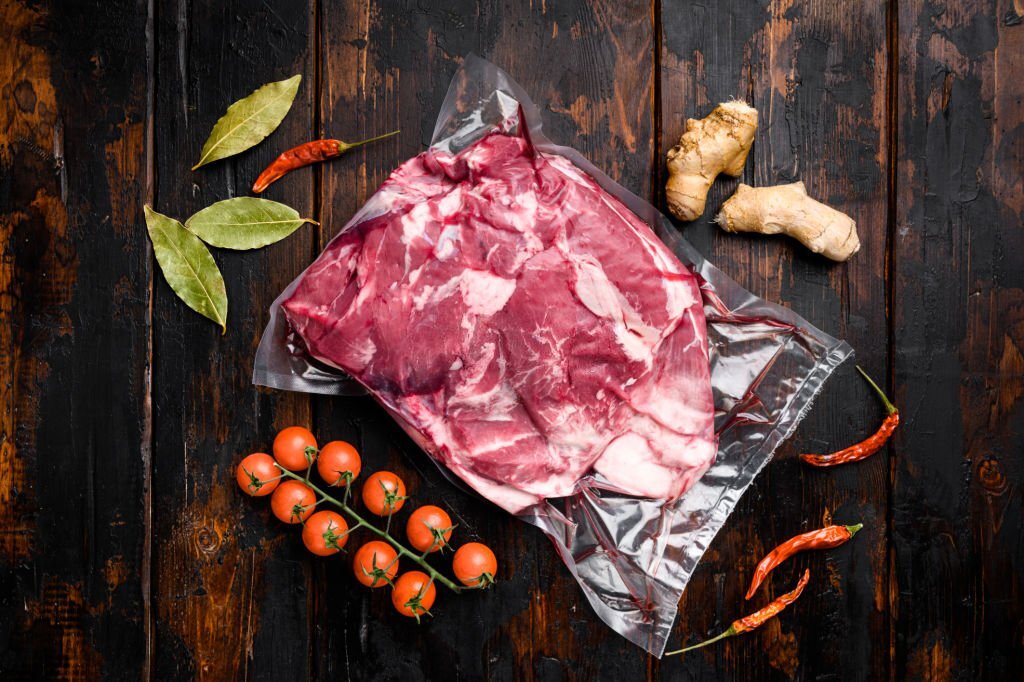
- Meat ( lamb, beef, poultry)
- Nuts & seeds
- Fish, tuna, shrimp, and other seafood
- Fruits (apples, berries, citrus fruits, etc.)
- Vegetables (broccoli, carrots, potatoes, etc.)
- Herbs & spices
- Grains, rice, and pasta
- Prepared meals (portioned & sealed)
- Coffee beans
- Soups & stews (once cooled)
- Cheese (hard & semi-hard)
- Sauces & marinades (sealed in containers)
Which Food Items Should Not Be Vacuum-Sealed
Various types of food can be vacuum sealed but some items contain anaerobic bacteria which grow better in the absence of air and can be dangerous to health. The following list shows the items that should not be vacuum sealed.
- Mushrooms
- Garlic & onion
- Soft cheese
- Soft foods like pastries, cake, fresh bread, etc.
- Carbonated beverages
- Too much oily food
Other Items That Can Be Vacuum-Sealed?
In addition to food items, you can also seal non-food items to save space and keep them safe. The following list shows some examples of items that can be vacuum-sealed.
- Important documents and papers such as certificates, driving licenses, travel insurance, etc.
- Toilet papers
- Certain electronics e.g., smartphones, Flashlight, cameras, etc
- Emergency kit
FAQs
How long does vacuum-packed food last?
The shelf life of vacuum-packed meals depends on several factors including the type of food, temperature, storage condition, etc.
Is it safe to use vacuum-sealed food?
Yes. Vacuum-sealed food is completely safe to use if the proper food safety procedures are followed during cooking, handling, storing, and eating.
How to pack Vacuum Sealed Meals Manually?
In case, you do not have a vacuum sealer or vacuum bags, still you can pack the food in zip-lock bags by removing the air using high water pressure. You can watch the video for a visual demonstration here.
Is it worth having a vacuum-sealing machine?
The simple answer is yes. The vacuum sealer is a perfect investment and a valuable addition to your kitchen. It allows you to buy fruit, vegetables, and meat in bulk to save time and money.
How much food should I bring camping?
The amount of food you will need depends on several factors like the duration of the trip, number of people, storage conditions, etc. However, a reasonable quantity is 1½ to 2½ lbs. of food (2,500 to 4,000 calories) per person a day.
Hi, I’m Masab Jamal, the founder and head editor of this blog. I love to spend most of my time in the wilderness. Apart from camping and outdoor life, I’m a full time blogger.